How To Enable Motherboard HDMI – Tips & Steps To Guide
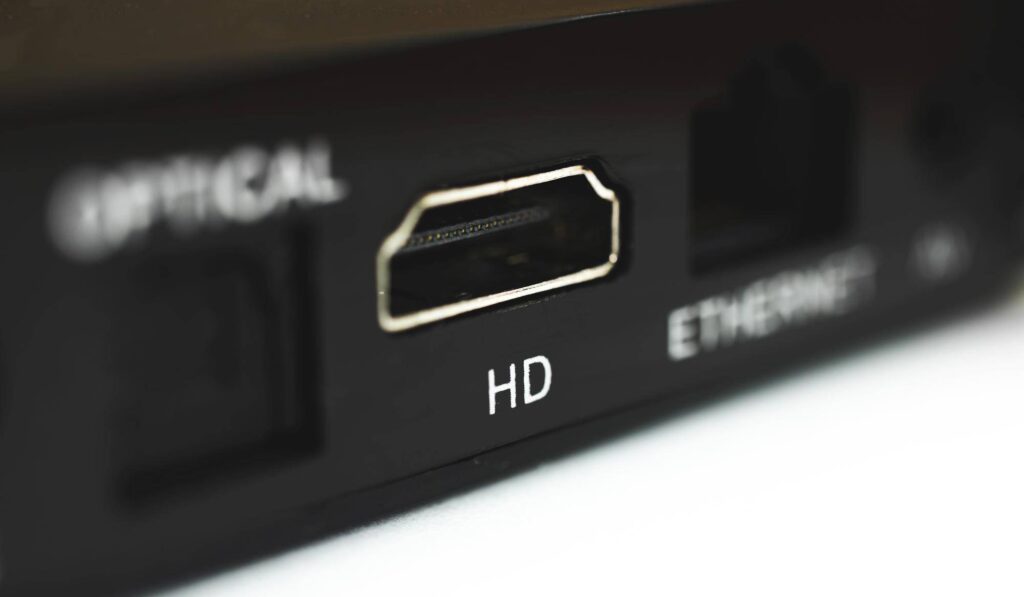
How to Enable the Motherboard HDMI? We have different steps and tips for you to provide the best information. Connect your primary monitor to the video card’s HDMI connector on the back. You should connect your secondary monitor to the HDMI port on your motherboard if you have one.
If you have more displays, you can connect the HDMI cables to them as well. You never know when you’ll run out of ports on your dedicated graphics card, or if the graphics card’s HDMI port is broken, so you might as well use the motherboard’s built-in HDMI. You can restore the functioning of all accessible connectors by learning how to enable motherboard HDMI ports even if you have a GPU installed.
Article Headings
How To Enable Motherboard HDMI?
CPUs with integrated graphics chips are supported by motherboards with HDMI connections built into their back panels. This is ideal for gamers who want to connect a large video screen to their computer. They allow you to have display outputs without the need for third-party video or graphics cards to be installed. Despite this, many PC users opt for a dedicated graphics card, which disables the motherboard’s built-in HDMI connections permanently.
Several motherboards permanently deactivate the HDMI motherboard if the graphics card is put into the PCIe slots, even if the graphics cards have tiny ports. However, we’ll need to verify the motherboard manual to confirm that it supports dedicated graphics. These steps will enable HDMI on the motherboard. It has no effect if you use your motherboard’s HDMI connector to operate your primary or secondary monitor. The steps are nearly the same.
There are four important steps:
When the use of motherboard HDMI is needed, follow these four basic procedures to enable it.
Examine your CPU for Integrated Graphics.
To enable HDMI on the motherboard, if you already know the CPU processor model you have on your device, you should go to the manufacturer’s website to get more information. Follow these procedures to verify your graphic card in Windows 10:
Let’s get started:
- Setting it to “open” (icon above the power button).
- Choose “system.”
- Go to “About” to learn more (on the left side of the system).
- The processor’s “model name” can be found in the “device specification.”
In the BIOS, enable Integrated Graphics
During the enable motherboard HDMI process, you’ll need to allow it to determine that your CPU has onboard graphics via the BIOS. Some motherboard makers are working on allowing both dedicated and onboard graphics to be used at the same time.
You also like: How To Install Motherboard Drivers With USB
Here’s a general tutorial on how to open your BIOS and where to look for it if you don’t know where to look.
- You must first turn off your computer to do so. Save all of the important data and turn off the computer.
- It would be helpful if you switched it on once more. A brief POST screen will appear before your machine powers up, as is customary. At that point, you must press the button to gain access to the BIOS settings, which are normally written on the computer. The most used common keys are F1, F2, F8, F12, Delete, and Escape.
- The exact key can be found in your motherboard’s user manual or on the manufacturer’s website.
- While you’re in the BIOS, it’s also crucial to figure out the integrated graphics settings. If you’re not sure what you’re doing, don’t change anything else because it would break your computer, but feel free to look through the various menus.
- One of the panels makes it easy to find the integrated graphics options. If not, go for ‘Advanced settings’ and ‘Graphics settings’ or something like that.
- Once you’ve discovered it, activate the iGPU, Multi-Monitor, or Integrated Graphics. Make sure that allowing the environment allows you to use both built-in and discrete graphics for multiple screens if the setting is described.
- When you’re finished, save the settings and exit the BIOS. It will restart your computer normally.
Connect to a different monitor
You check if your CPU has integrated graphics during the enable motherboard HDMI process, and if it is, you must use the HDMI port. You’ll need an HDMI to HDMI cable for this. If your monitor does not have an HDMI port, you can use an adaptor.
The steps to connect your monitor to your HDMI-enabled motherboard are as follows.
- Connect your monitor to the HDMI wire.
- Connect the primary display to the graphics card if you’re utilizing two monitors.
- Graphics card ports are normally horizontal and positioned on the back bottom of your computer chassis.
- Connect the second display to your motherboard’s HDMI port. Unlike the graphics card, the motherboard is vertically installed.
- All motherboard connectors, like the graphics card, are on the backside of the machine. They normally sit above the graphics card ports on all conventional computers.
- Turn on the computer and enjoy your multi-monitor configuration.
Although your display is now operational, you will need to update your integrated graphics card drivers.
Install the most latest integrated graphics driver (if necessary)
It’s simple to install the latest integrated graphics cards. There is no need to download any software from the internet. If your second monitor isn’t identified owing to a graphic card issue, you’ll need to take this step.
To update the graphic card, follow these steps:
- Go to the icon that says “start.”
- In the computer window, open the “device manager” and look for it in the control panel.
- Select “Display Adapter” from the drop-down menu.
- Find out if your computer has a built-in GPU.
- If it isn’t listed here, it can be located under “Other Devices” as an Unidentified Device.
- Download the latest driver from the website of your CPU maker and let Windows look for it automatically.
- Please restart your computer and wait for it to finish.
Some Tips & Guide
The possibility of linking several screens is the main advantage of using the HDMI connection on the motherboard. If your graphics card doesn’t have a second HDMI port or both of your ports are full, you should connect the new Monitor to the motherboard.
You also like: Does My Motherboard Support UEFI?
Keeping many displays connected has some advantages. It will increase your workflow, performance, and multitasking capabilities, among other things. Because most people are working from home due to the current epidemic, increasing your productivity will provide you more time to enjoy and reconnect with your family.
Conclusion
If you don’t have any free ports on your dedicated graphics card, using your HDMI motherboard port to enable motherboard HDMI is a good idea. When compared to using the graphics card on all monitors, you may be concerned about the impact on the expected results. An integrated graphics solution, which combines power and memory with the computer’s Central Processing Unit (GPU) to display information on the screen, places a strain on the CPU and system memory, causing APIC Timer to interrupt delivery and be delayed.
Don’t bother going into BIOS to enable the onboard connectors as soon as you realize your processor doesn’t have integrated graphics. You’ll need to replace your CPU with one that has integrated graphics if you want both dedicated GPU ports and integrated graphics connectors to work at the same time.
FREQUENTLY ASKED QUESTIONS (FAQs)
How do I get my motherboard HDMI to work?
Connect your primary display to the video card’s HDMI connector on the back. You should connect your secondary monitor to the HDMI port on your motherboard if you have one. If you have more displays, you can connect the HDMI cables to them as well.
How do I enable the HDMI port?
Choose “Sounds” and the “Playback” tab by right-clicking the “Volume” icon on the Windows taskbar. To switch on the audio and video functionality for the HDMI connection, select “Digital Output Device (HDMI)” and then “Apply.”
How do I enable my motherboard display?
Step 1: To access the bios, hold or hit the ‘Delete’ key immediately after turning on the machine. Step 2: Choose ‘Advanced’ menu > System Agent (SA) ConfigurationGraphics Configuration > iGPU Multi-Monitor setting > iGPU Multi-Monitor setting > iGPU Multi-Monitor setting > iGPU Multi-Monitor setting > iGPU Multi-Monitor setting > iGPU Multi-Monitor setting > I As shown below, enable it.

